Thinking about listing your historic Stonington Borough home and wondering how to make it shine without losing its soul? You want buyers to feel the quiet magic of old floors, hand-carved trim and a crackling hearth, while the photos look bright, inviting and current. In this guide, you’ll learn how to stage a Borough property in ZIP 06378 so it photographs beautifully, honors its fabric and works within local preservation guidelines. Let’s dive in.
Why staging in Stonington is unique
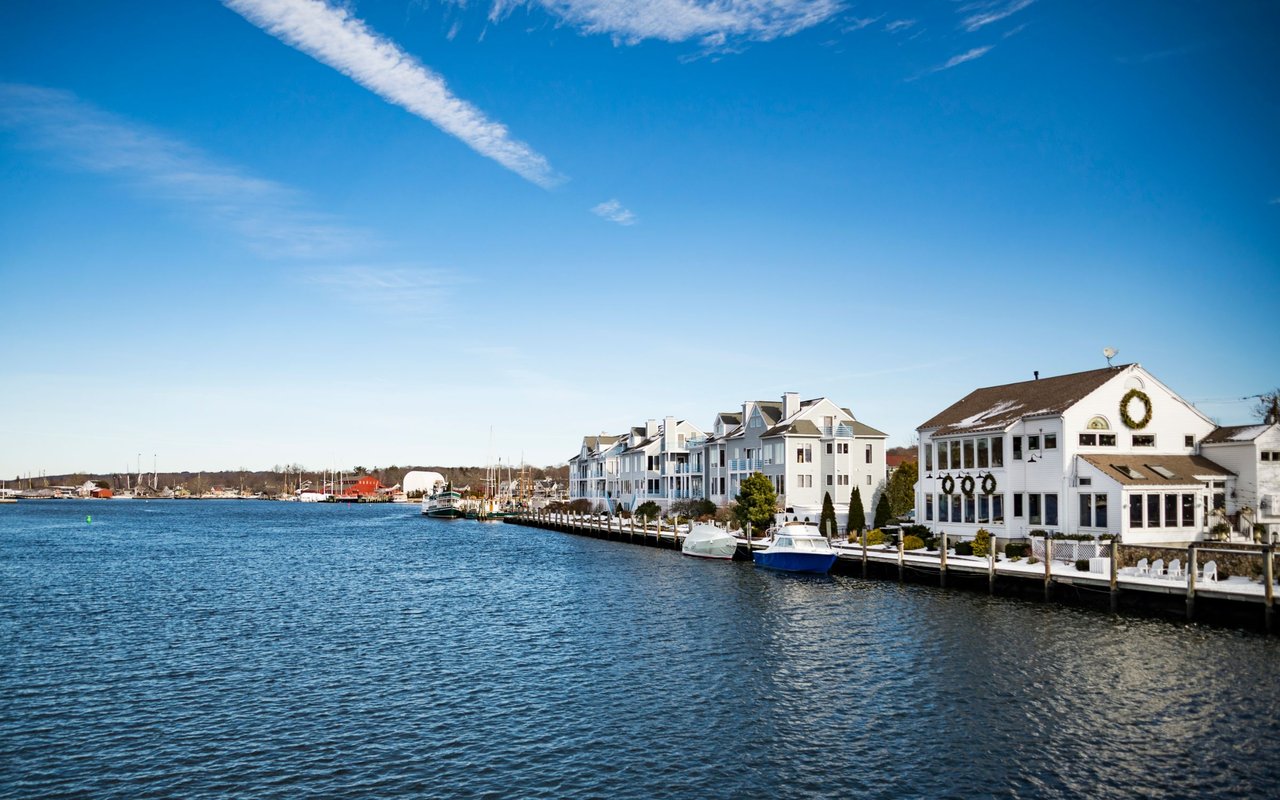
Historic Stonington Borough homes often date to the 18th and 19th centuries. You likely have wide-plank floors, original wood mantels, built-ins, center or end chimneys, and rooms that run narrower than newer builds. These features deserve center stage and should inform your choices on furniture scale, finishes and lighting.
Many properties sit within a designated historic district where exterior changes are reviewed by a local Historic District Commission. National Register status is typically honorary for private owners, but the local district rules carry weight for exterior work. Treat staging as preservation-minded: reversible, respectful and light-touch.
Start with a preservation plan
Think “preserve first, then stage.” Use the Secretary of the Interior’s Standards for Rehabilitation as a common-sense guide. Keep original materials, repair instead of replace, and make any new elements visually compatible yet clearly new. Aim for reversible changes and avoid removing historic mantels, paneling or built-ins.
Before making exterior color or material changes, verify what the Stonington Historic District Commission reviews. A quick check saves time and helps you avoid last-minute listing delays.
Showcase defining features
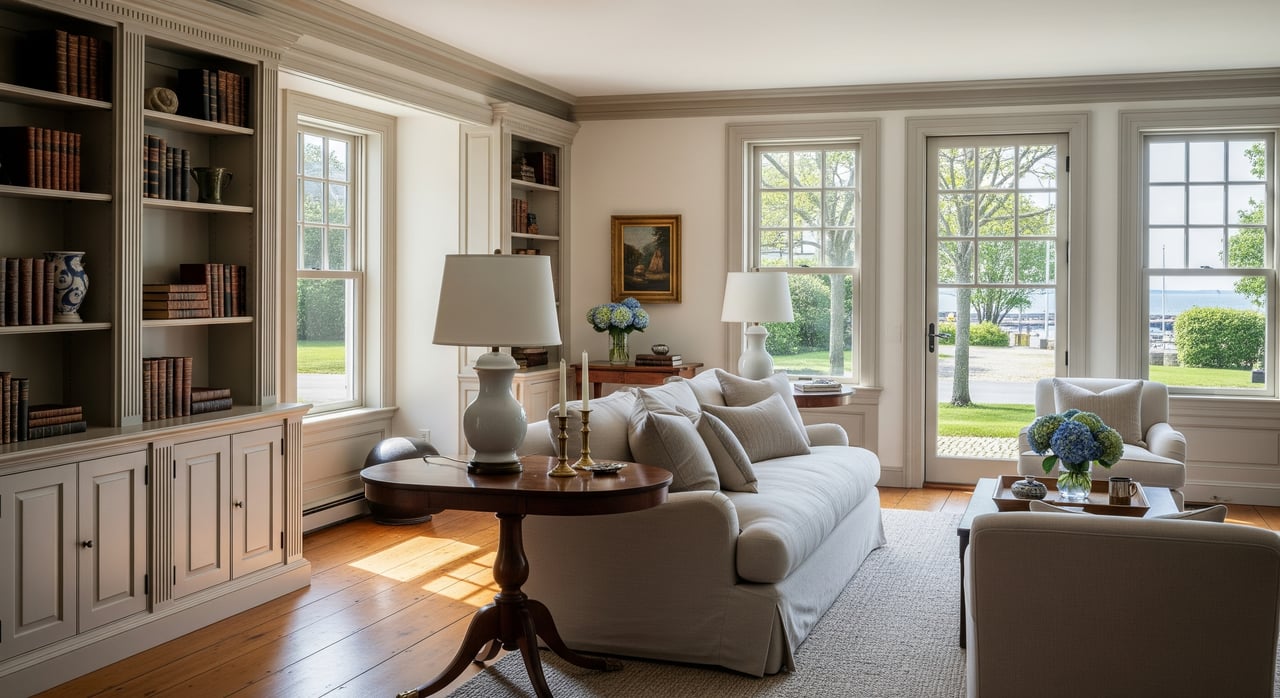
Your best selling points are often the ones the house already has. Clean woodwork and floors, and remove anything blocking sightlines to mantels, staircases and built-ins. Heavy draperies, oversized furniture and clutter can hide beautiful details.
Use lighting to draw attention. Picture lights, small uplights or discreet table lamps can highlight a mantel or paneled wall for photography. Keep styling simple so the architecture reads first.
Scale and circulation in older rooms
Historic rooms are often smaller or lower than modern expectations. Choose slimmer-profile sofas, settees and open-legged chairs instead of bulky sectional pieces. Keep clear pathways between furniture and doorways so buyers can feel the flow.
Right-size rugs anchor the room. Let furniture sit fully on the rug, or at least place the front legs on it, to avoid a floating look that shrinks the space. Edit extra pieces so circulation feels easy.
Color that respects the period and the camera
Historic palettes favor muted, natural pigments like warm off-whites, soft greys, olive and sage greens, quiet blues and earthy reds and ochres. For broad appeal and strong photos, lean into slightly warm neutrals on walls to complement original wood tones.
Reserve stronger historic hues for a front door, a built-in or a single accent wall. Avoid stark bright white next to warm woodwork, which can photograph as harsh contrast. Use eggshell or low-sheen on walls for subtle depth and a soft satin or semi-gloss on trim to make moldings pop.
Light the house like a pro
First, maximize natural light. Clean windows, pull back heavy curtains and choose sheer or minimal window treatments where privacy allows. Then layer warm, consistent lighting.
Use warm LED bulbs around 2700 to 3000K to mimic incandescent color and flatter old wood. Keep color temperature consistent across rooms to avoid odd casts in photos. Combine overhead fixtures, floor and table lamps, plus a few targeted picture lights so the house feels inviting and clear in images.
Materials and accessories with coastal restraint
Choose natural fabrics like linen, cotton and wool. Keep patterns modest and in scale with the room, such as small florals, stripes or damasks in small repeats. Use area rugs to protect original floors and define seating without overwhelming the room.
Style with a light hand. A few curated books, simple botanicals and one or two period-appropriate ceramics are enough. For a coastal touch, think subtle texture rather than theme-y decor. In our salt air climate, pick textiles and outdoor accents that tolerate humidity, and use corrosion-resistant fasteners for any temporary fixtures.
Kitchens and baths: small, reversible wins
These spaces carry weight for buyers, but you rarely need a major remodel to photograph well. Deep clean, clear counters and remove excess appliances. Stage a small vignette like a bowl of lemons or a wooden cutting board, then turn on task lighting.
Where needed, consider painting cabinets in a historically sympathetic tone and swapping in simple, period-friendly knobs or pulls. In baths, use fresh neutral towels, a clean neutral curtain or existing glass, and very few accessories. The goal is a calm, functional feel that aligns with the home’s age.
Curb appeal within district rules
Focus on repair and refresh over replacement. Clean and touch up paint where needed, and keep shutters, clapboards and trim in good order. Tidy landscaping is best: trimmed hedges, swept paths and potted plants scaled to the stoop.
On porches, stage a small seating group that matches the porch size. If you consider exterior color or material changes, check with the Stonington Historic District Commission first. Choose coastal-appropriate plants and materials that stand up to salt and humidity.
Room-by-room checklist
General prep for every room
- Clean thoroughly, including woodwork and windows.
- Remove personal photos and most personal items.
- Declutter and keep only a few curated pieces on surfaces.
- Repair small, reversible defects like loose molding or minor plaster cracks.
- Test quick phone photos in daylight and adjust to avoid glare.
Entry or foyer
- Aim for a clear view of the stair, floors and any paneling.
- Add a slim console or tidy bench, a period-appropriate mirror and a right-size rug.
- Keep lighting on and coats and shoes out of sight.
Parlor or living room
- Arrange scaled seating around a focal point like a mantel or window.
- Use a coffee table that fits the seating height and leave clear walkways.
- Layer light sources and open curtains to brighten trim and floors.
Dining room
- Keep the table clear with a simple centerpiece to show scale.
- Space chairs evenly and clean the chandelier or fixture.
- Highlight built-ins and maintain an uncluttered perimeter.
Kitchen
Clear counters, leaving one or two styled items.
Turn on under-cabinet or pendant lighting for warmth.
Polish or update simple hardware and stage a breakfast nook if you have one.
Primary bedroom
- Choose the correct bed scale and center it on the wall.
- Use neutral bedding with a few layered cushions and matching bedside lamps.
- Edit extra furniture to show circulation and closet access.
Secondary bedrooms or office
- Show a clear use: guest room, nursery or home office.
- Keep the desk or bed surface clean with one focal accessory.
- Leave one room lightly staged for flexibility.
Bathrooms
- Clean grout and fixtures until they gleam.
- Use fresh neutral towels and a new neutral curtain or existing glass.
- Remove personal products and ensure ventilation and lights work properly.
Exterior and landscaping
- Power-wash paths, tidy planting beds and remove stored items.
- Touch up paint as approved, and stage the porch with two chairs if space allows.
- Choose outdoor items that resist salt and humidity.
Photography and listing day plan
Photograph in bright natural daylight. Open curtains and turn on interior lamps to balance light and add warmth. Keep bulb color temperatures consistent so rooms read as a whole.
Capture both the details and the flow. Include shots that show how rooms connect to communicate the plan and scale, and add a few close-ups of mantels, moldings and floors. Wipe windows and mirrors to prevent reflections. If you use virtual enhancements, do not alter or misrepresent original architectural features and keep added furniture faithful to period-friendly scale and style.
Solve common challenges
- Small, narrow rooms: remove oversized pieces, choose low-profile seating, use mirrors carefully and right-size rugs so the space feels open.
- Dark interiors: clean windows, open curtains, add warm lamps and consider slightly warm wall colors that reflect light.
- Dated kitchens or baths: deep clean and stage, and consider refinishing cabinetry and simple hardware updates rather than full replacement.
- Exterior color debates: consult the local Historic District Commission early, and consider historically informed palettes that tend to work well.
- Too much antique weight: balance a few period pieces with lighter contemporary items so rooms feel livable, not like a museum.
Work with a design-led local team
Staging a Borough home is both an art and a process. You want photos that stop buyers mid-scroll and in-person tours that feel effortless. We combine design-forward staging leadership with regulatory fluency so your home looks its best while staying aligned with local expectations. Our two-agent model gives you more availability, steady communication and a polished marketing package that includes HD photography, drone imagery and virtual tours.
Ready to position your 06378 home for a standout launch? Request a complimentary home consultation with Jonathan Shockley and we will tailor a preservation-aware plan for your timeline and goals.
FAQs
What does the Stonington Historic District Commission review for sellers?
- The local commission typically reviews exterior changes like alterations, signage and some color or material changes. Confirm requirements before making exterior updates.
How should you pick paint colors for a historic Stonington home?
- Choose slightly warm neutrals for walls to flatter woodwork, and use stronger historic hues on doors or built-ins. Keep wall sheen eggshell and trim satin or semi-gloss for crisp photos.
What lighting color temperature works best with old wood and trim?
- Use warm LED bulbs around 2700 to 3000K and keep the temperature consistent across fixtures so rooms feel cohesive and wood tones read rich and inviting.
How can you stage small, narrow rooms in an 18th-century house?
- Select slim-profile furniture, edit extra pieces to open pathways and size rugs so furniture sits fully or front legs rest on the rug to prevent a cramped look.
Is virtual staging appropriate for historic listings in 06378?
- Yes, with care. Do not change or hide original architectural features, and keep any added furniture true to period-friendly scale and style so buyers are not misled.